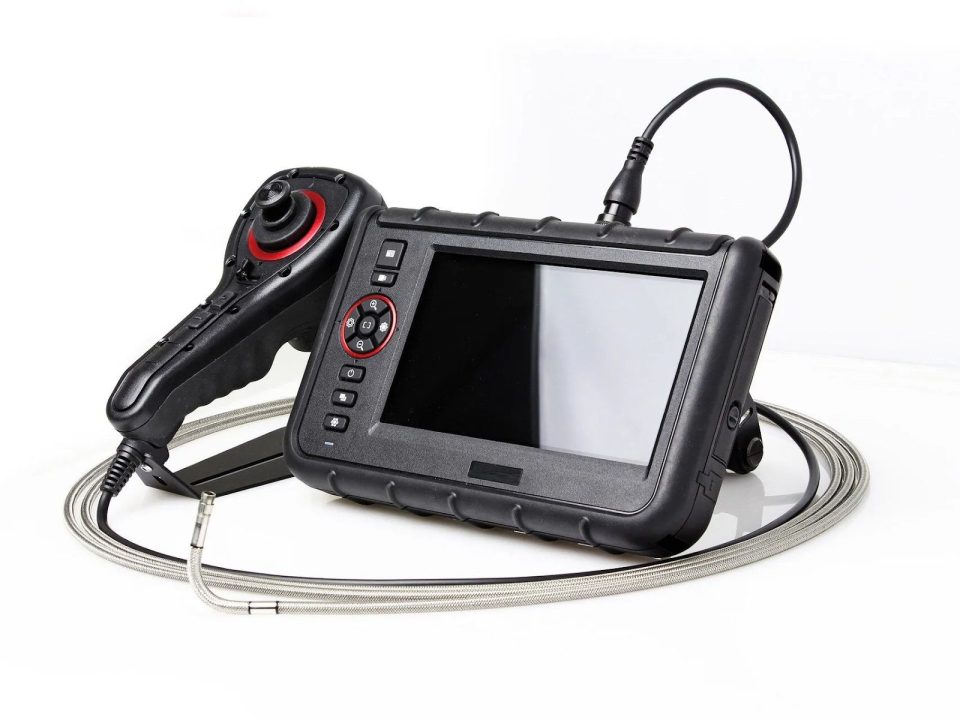
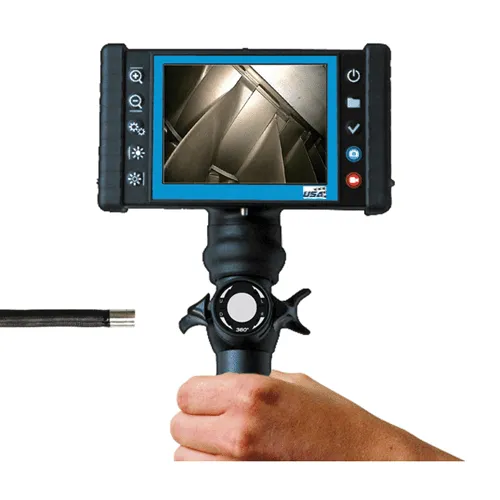
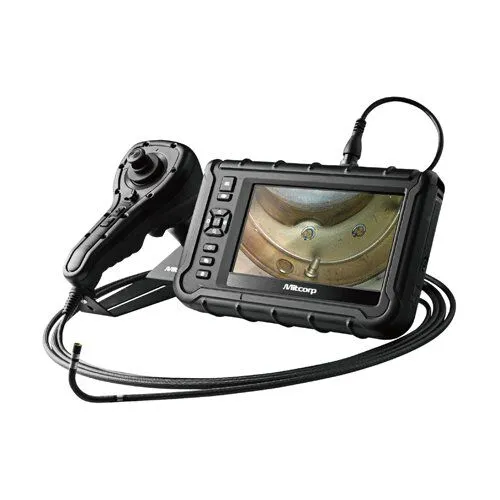
When teams talk about borescopes, they often focus on what they can see – burn marks, pitting, cracks, erosion, impact damage, or signs of foreign object debris. But in many inspections, visibility is only half the job. The harder question is: How big is the defect, and is it getting worse? That’s where a measuring borescope earns its keep. By combining remote visual inspection with measurement tools, it helps inspectors move from looks questionable to we can document this and make a decision. Companies such as USA Borescopes support inspection teams with tools designed for tight internal access where measuring matters.
Benefit #1 – Quantifiable Decisions, Not Guesswork
A standard borescope can confirm that a defect exists. A measuring borescope helps you quantify it – so maintenance decisions can be based on documented dimensions instead of subjective impressions.
That shift is a big deal in high-stakes environments (like engines and rotating equipment), where decisions often come down to limits, thresholds, and trends. Knowing what you’re looking at is important; knowing how large it is is often what drives the next action.
Measuring capability supports decisions like:
- Is that nick small enough to blend, or does it require repair?
- Is corrosion superficial, or is pit depth approaching a critical limit?
- Is a crack stable over time, or has it grown since the last inspection?
- Does this defect justify teardown now, or can it be monitored?
Even when you ultimately follow OEM guidance and internal procedures, measurement gives the team stronger documentation and clearer communication when discussing findings.
Common Measurement Modes You’ll Hear About
Different systems describe measurement in different ways, but you’ll often see features such as:
- Point-to-point measurements (distance between two selected points)
- Depth or step measurements (relative height/depth in a feature)
- Area measurements (approximate area of a region of interest)
- Comparison/trending workflows (capturing repeatable views over time)
The exact method depends on the device and software, but the underlying goal is the same: turn a visual finding into data you can use and track.
Benefit #2 – Access to Tight, Complex Pathways
The biggest reason borescopes exist at all is access. Engines and machines are full of confined spaces that would be impractical – or impossible – to inspect without disassembly. Measuring borescopes take that value a step further: once you can reach the target, you can do more than just take a look.
Practical advantages show up in areas like:
- Tight bends and internal passages
- Recessed surfaces that are hard to view head-on
- Deep cavities where re-positioning is tedious
- Components where removing adjacent parts would drive major downtime
In many real-world situations, defects are located in exactly the places you don’t want to tear down just to confirm. Measurement capability helps you maximize what you can learn during a single insertion.
Tips for Getting Reliable Measurements in Confined Spaces
Measurement quality often comes down to technique. A few habits can make the data more trustworthy:
- Stabilize the tip before capturing images or measuring
- Keep the lens clean (oil haze and debris can distort edges)
- Use consistent viewing angles when documenting before/after
- Manage glare with lighting adjustments and slight repositioning
- Capture multiple views when a surface is curved or reflective
Think of measurement as precision with process: the tool helps, but repeatable technique is what makes it dependable.
Benefit #3 – Fewer Engine Tear-Downs

One of the most tangible benefits is the ability to avoid unnecessary disassembly. When the inspection outcome hinges on defect size – rather than simply presence – measurement can prevent the classic maintenance spiral: We saw something… now we have to open it up.
Reducing tear-downs matters because it saves more than labor:
- Less downtime (often the biggest cost)
- Fewer opportunities for reassembly errors
- Less risk of incidental damage during removal and installation
- Faster return to service when a finding is within acceptable limits
In other words, measurement helps teams confirm whether a finding is actionable before they commit to the time and cost of deeper maintenance. That can be especially valuable for borderline indications where a non-measuring scope might leave too much uncertainty.
Benefit #4 – Better Documentation and Repeatability
Inspection results are only as useful as the documentation that follows. Measuring borescopes improve reporting by allowing teams to capture a finding with:
- Clear images/video
- Measurement overlays (when supported)
- Notes, annotations, and consistent reference points
That helps in two important ways:
First, it improves internal alignment. Instead of debating what a photo might show, teams can discuss a documented measurement and a comparable view.
Second, it supports repeatability over time. If you can re-capture a similar view on future inspections, measurement makes trending easier – helping you answer: Has this changed since last time?
Repeatability also reduces re-check loops, where multiple people want to re-inspect because the initial documentation wasn’t complete enough to make a confident call.
Benefit #5 – Faster Maintenance Cycles and Higher Throughput
Even small time savings matter when inspections are frequent. Measuring borescopes can reduce the number of steps it takes to move from discovery to decision.
Here’s how time tends to get saved:
- Fewer capture again moments because the team already has a quantified record
- Faster escalation and review because the finding is documented clearly
- Less back-and-forth between inspection and maintenance planning
- More confident calls on monitor vs. repair now
If your team inspects multiple assets, engines, or units across a month, efficiency becomes cumulative. Measurement can turn a process that used to require follow-ups into a one-and-done inspection with stronger documentation.
Benefit #6 – Safer, Less Invasive Inspections
Reducing disassembly doesn’t just save time – it can also reduce risk. Fewer tear-downs mean:
- Less physical handling of sensitive components
- Fewer exposure points for contamination
- Less chance of incidental damage during access
And because measuring borescopes help you gather more actionable information through existing access points, the inspection itself can remain less invasive while still supporting maintenance decisions.
When a Measuring Borescope Is the Clear Choice

A measuring borescope is especially valuable when the outcome depends on size, depth, area, or change over time. If the question isn’t just Is there damage? But Is it within limits? measurement helps bridge the gap between discovery and decision.
Turning Visual Findings Into Confident Calls
A measuring borescope helps inspection teams make better decisions with less disruption. The key advantages – quantifiable findings, tight-space access, fewer tear-downs, stronger documentation, faster maintenance cycles, and safer workflows – add up to a clearer picture of asset condition and what to do next.
For teams evaluating equipment options, USA Borescopes offers inspection solutions and a range of tools that support measurement-driven inspections. You can browse measuring and inspection options on their products page, or if you want guidance for your specific application, contact USA Borescopes to talk through your inspection goals.
About the Author
The author is an independent inspection and maintenance specialist with extensive experience supporting remote visual inspection programs across multiple industries. They focus on practical inspection workflows, documentation quality, and decision-making under real operational constraints. The author is not affiliated with any manufacturer or distributor and writes from a field-first perspective.


